The After:
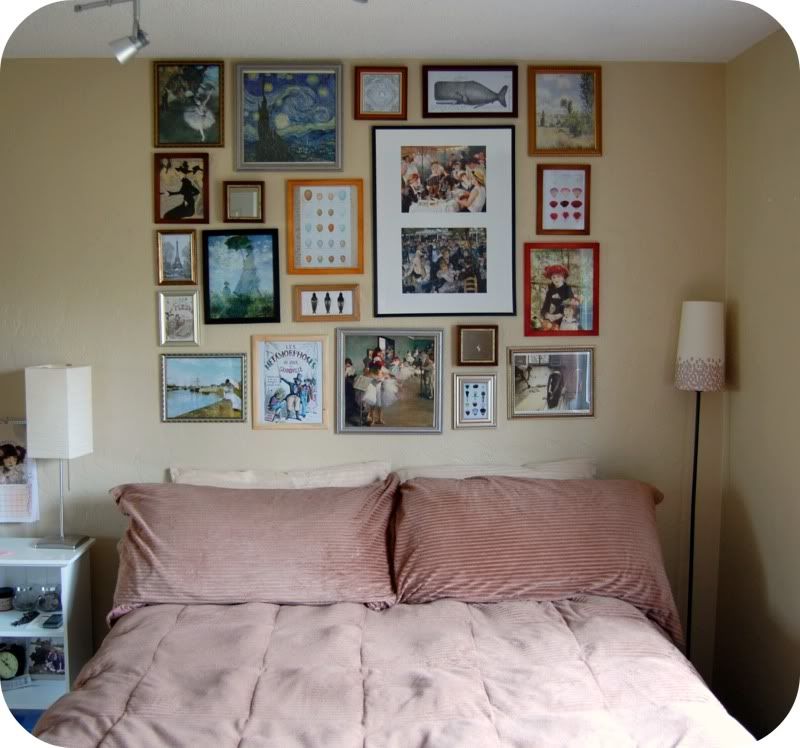
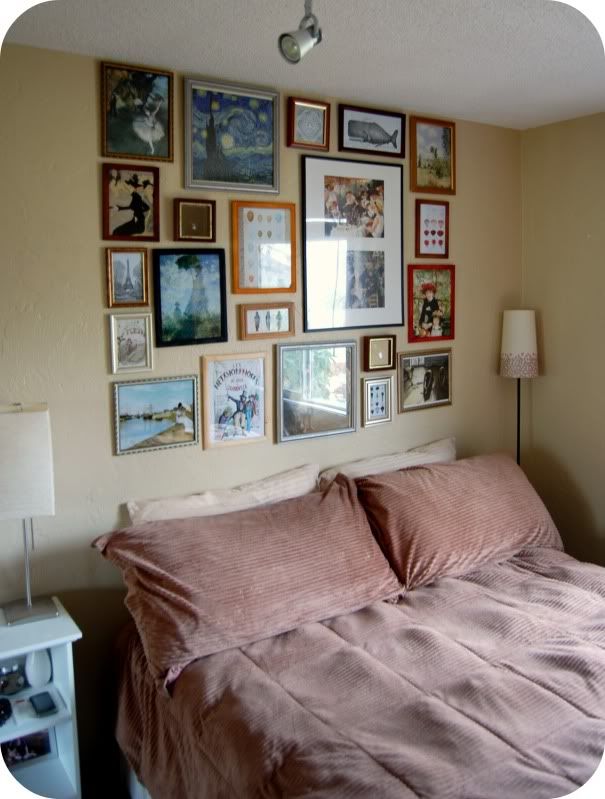 Isn't is fabulous? I love love love it. Every time I walk by my room I have to stick my head in just to stare at it for a while.
I ended up using 11 of the impressionist painting prints (out of the 22 I had), 8 images that I printed out for free on Vintage Printable, and two small mirrors.
I already had the large frame that I put the two Renoir paintings in. The two big square frames (that house Starry Night and The Dancing Class) came from St. Vincent's, as did the two mirrors and two other smaller frames. The rest of the frames came from the Dollar Tree. A pretty cheap project, considering that to buy framed prints like these individually would probably cost $10+ at retail price.
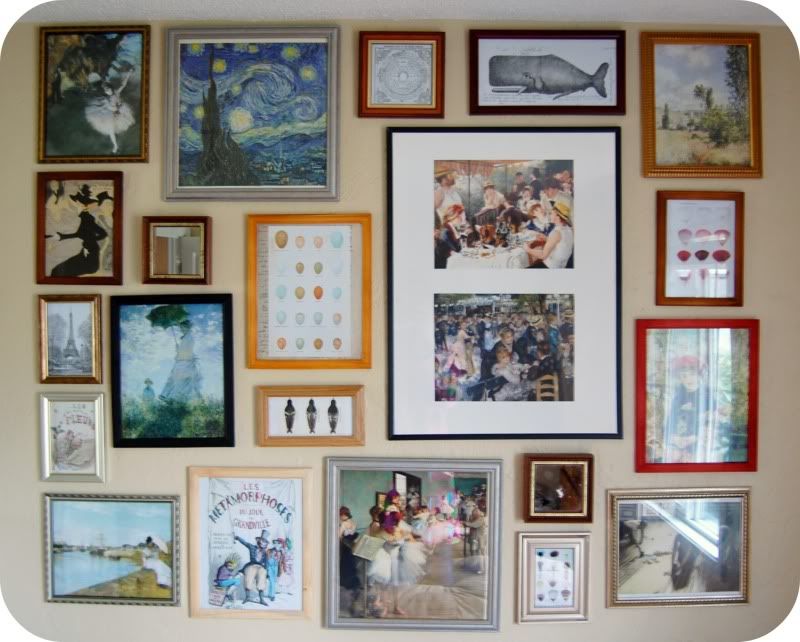 You may be thinking to yourself, "Gee, I wonder how she got all those pictures spaced so nicely." The truth is that it wasn't nearly as hard as I thought it would be. It is, however, more time consuming that I thought it would be. My sister Lindsey has apparently done a similar picture wall in her apartment at college, so she shared her secrets with me on how to get everything looking uniform and straight. It took a while to get everything done, but it was well worth it to be sure that it was going to all fit and be spaced correctly before I started putting holes in my wall.
What it looked like before I started nailing:
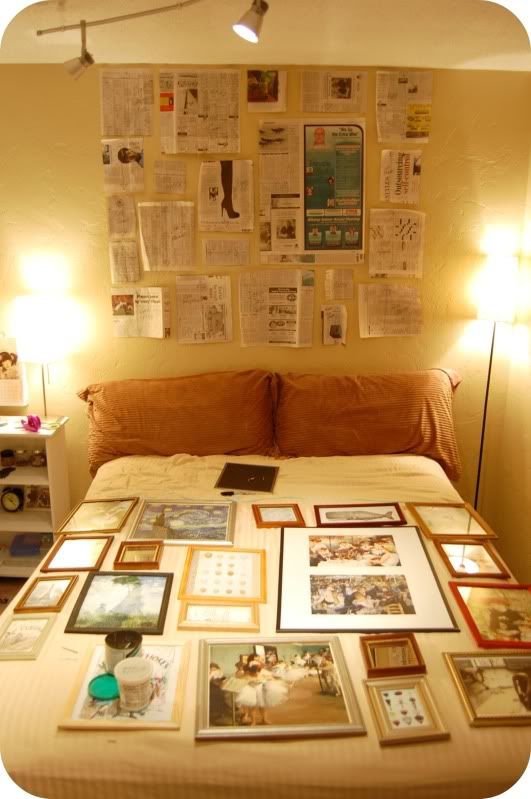 Yes, that is newspaper on my wall. They were my guides to make sure everything was placed right and also so I would know where I needed to put my nails.
All in all, it was a very fun and inexpensive project. I kind of want to do this to every wall in my house now. Someone stop me quick!
